Hacking a Printable PDF from Medium Posts
Between 2015 and 2019 mySociety ran a project attempting to catalogue all of the world’s politicians at everypolitician.org. I didn’t work on the project, but got to watch as we created nearly 1000 scrapers that triggered a cascade of webhooks and little processes that culminated in building a static, GitHub Pages hosted site to host all the data we’d amassed.
Recently I’ve been keen to learn more about the architecture of this project, and fortunately my good colleagues have – or should I say, our EveryPoliticanBot has – written a great set of blog posts detailing some of the components and ideas behind the system.
Given there are 25 blog posts, I wanted to create a single, printable PDF so that I could read them away from the screen.
Step 1 – Getting the list of URLs
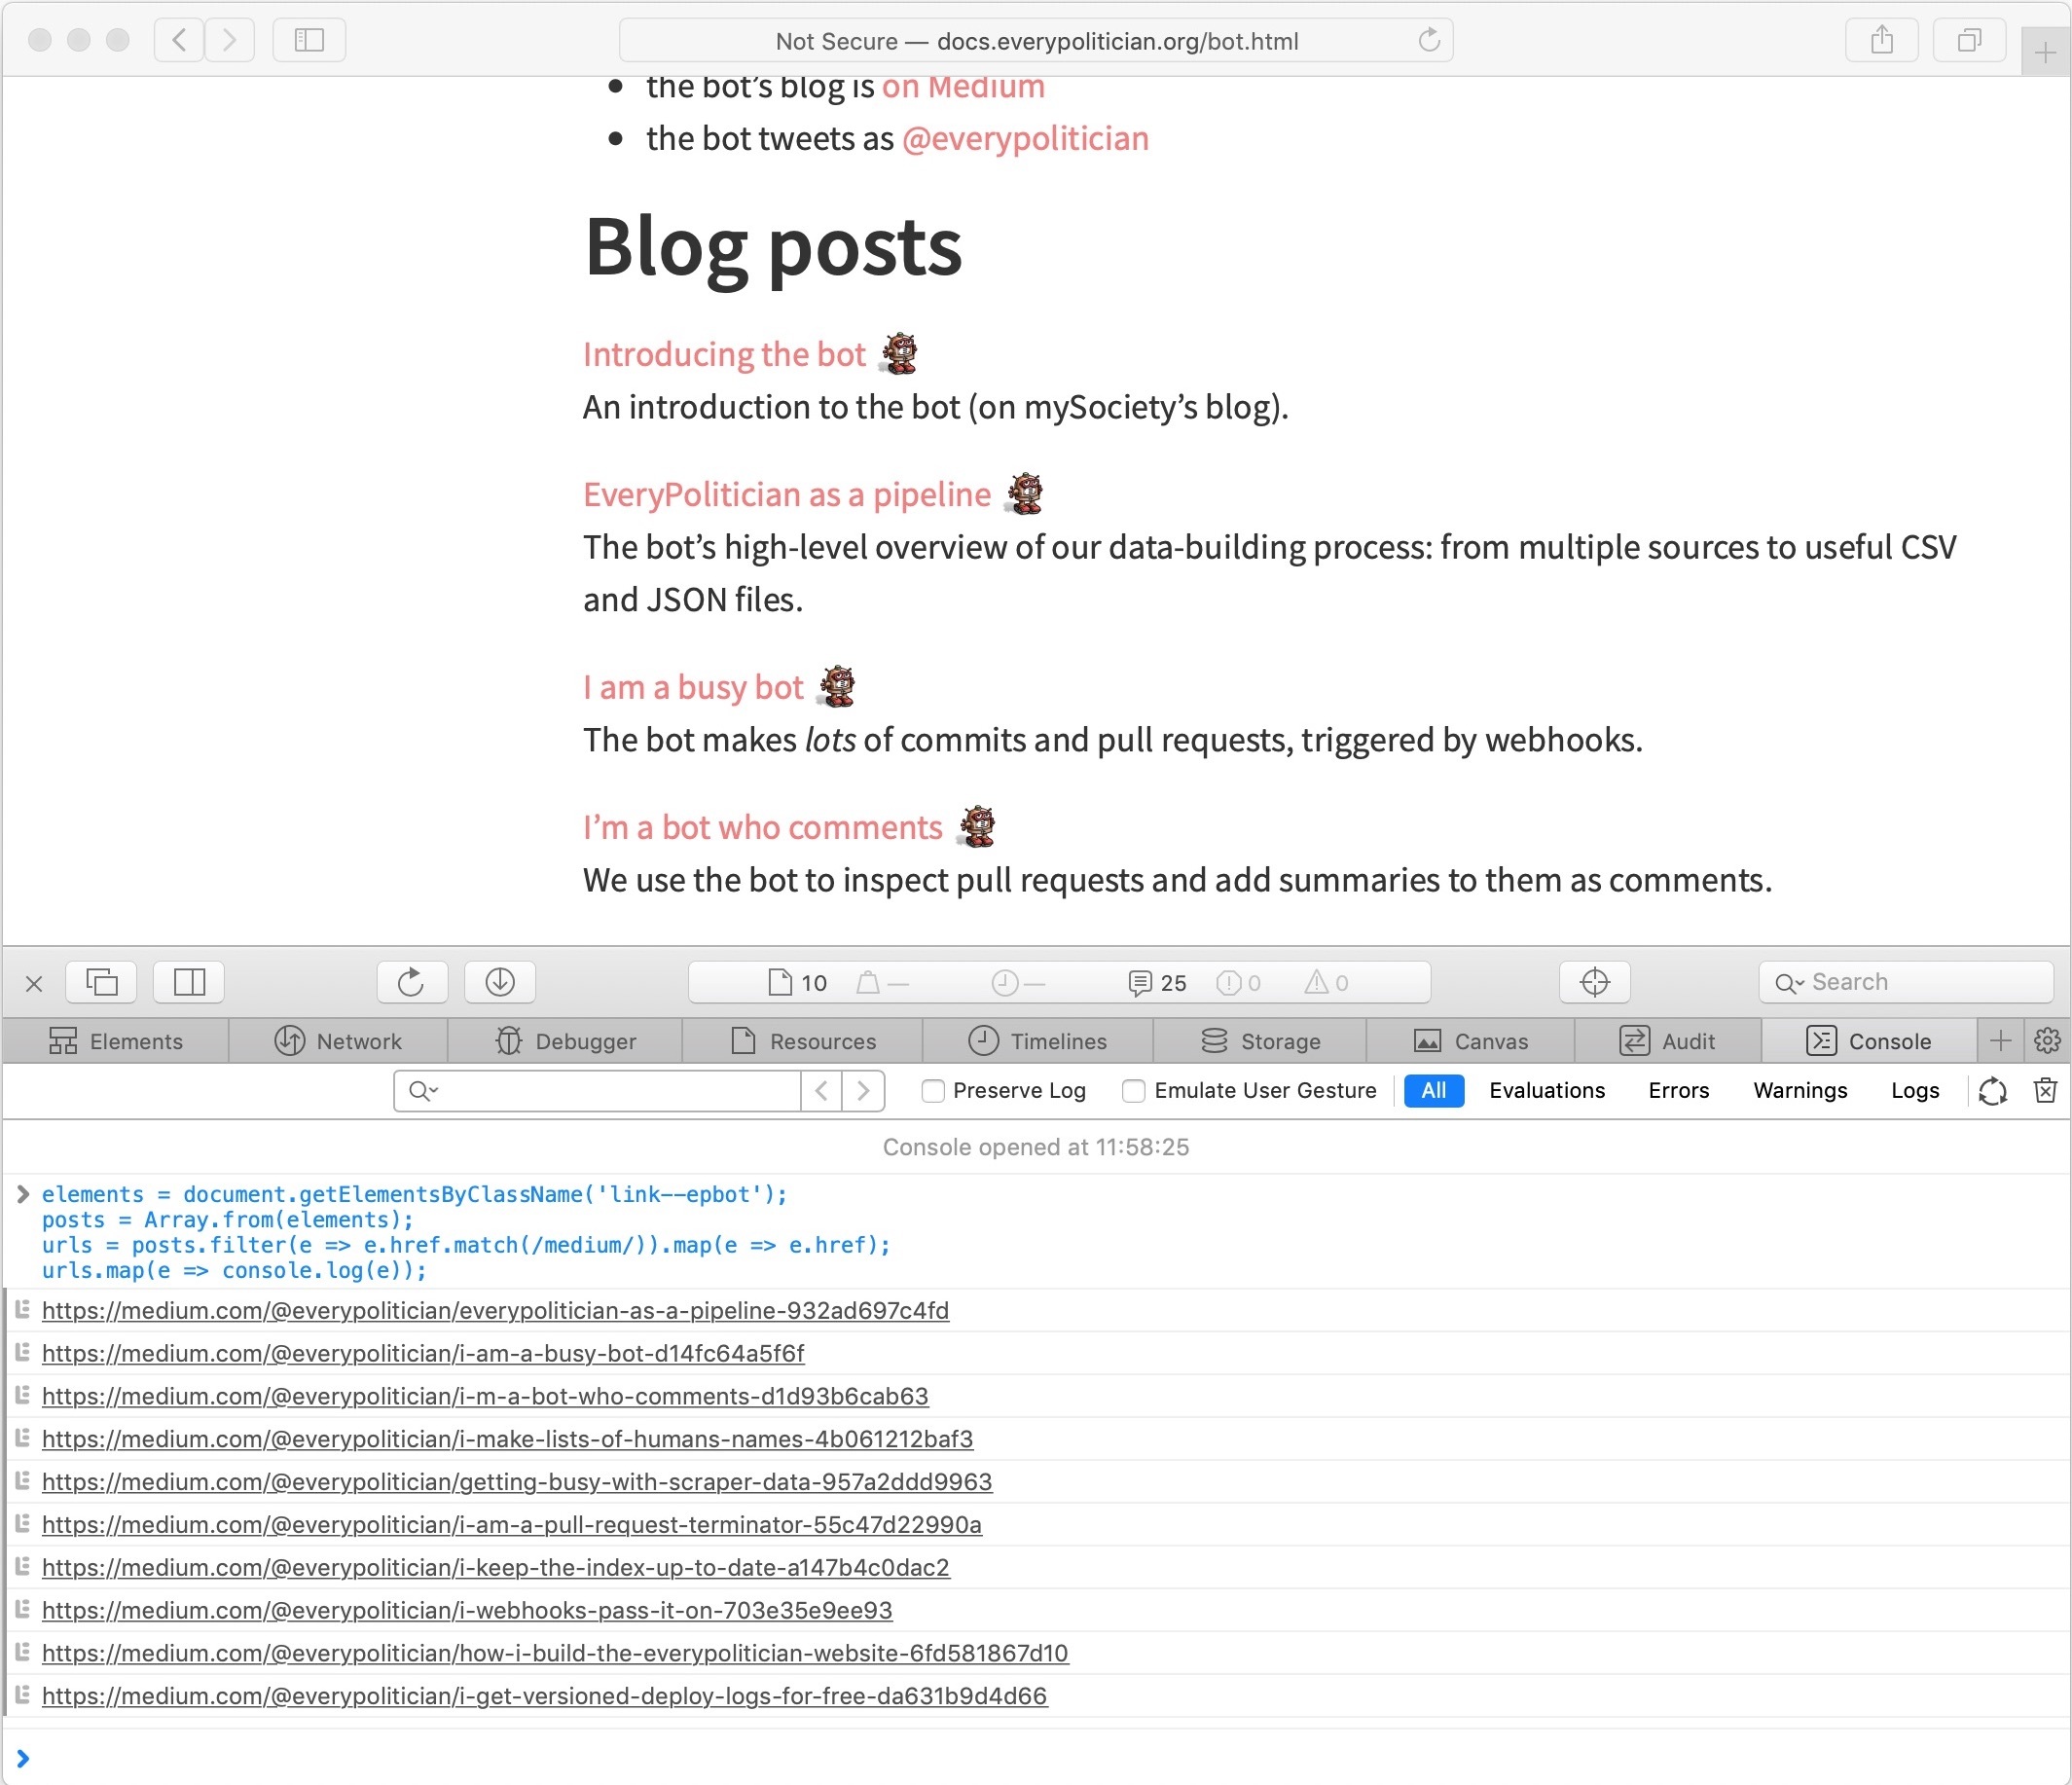
I wanted to set an order on the posts in the final PDF, as on the EveryPolitician site we’d reordered them slightly as some of the later posts give a better high level overview more suitable for an introduction.
I used the browser console to extract a list of URLs, which I pasted in a text file for later.
elements = document.getElementsByClassName('link--epbot');
posts = Array.from(elements);
urls = posts.filter(e => e.href.match(/medium/)).map(e => e.href);
urls.map(e => console.log(e));
Step 2 – Medium to Markdown
Grabbing the posts from medium was easy thanks to mediumexporter, which I came across after finding this blog post on Exporting your Medium posts to Markdown.
Its a nice, simple tool that just writes to stdout:
npm install -g mediumexporter
mediumexporter https://medium.com/p/export-your-medium-posts-to-markdown-b5ccc8cb0050 > medium_post.md
I also wanted nice filenames. The medium.com slug was fine, but I wanted to get rid of the hash at the end, so I hacked together a quick Ruby script to export each article to a nicely named markdown file.
I used named regexp match groups to parse out the slug and the hash, so that I could ignore the latter. I also used the % operator to add leading zeros to the files so that the first 9 posts would be in the correct order.
# medium_posts_to_md.rb
require 'fileutils'

# Create the export directory if it doesn't exist.
FileUtils.mkdir_p("#{__dir__}/md")

# Create an array from the ordered list of URLs
posts = File.read('./everypoliticianbot-blog-urls.txt').split("\n")

SLUG_PATTERN = /(?<slug>.*)(?<hash>-\w+)/

posts.each_with_index do |post, index|
  # Add leading zeros
  number = "%02d" % (index + 1)
  # Get the medium.com slug
  url_slug = post.split('/').last
  # Match the medium.com slug to extract the filename slug and hash
  result = url_slug.match(SLUG_PATTERN)
  # Define the filename we want to use
  filename = "#{number}-#{result[:slug]}.md"

  # Export the post with mediumexporter
  `mediumexporter #{post} > #{__dir__}/md/#{filename}`
end
There was a little manual cleanup to tweak some markup and remove unnecessary images that I didn’t want to print, but nothing worth mentioning – mediumexporter did a great job at creating the Markdown.
Step 3 – Markdown to PDF
In theory this is simple. Pandoc can convert markdown to PDF:
pandoc MANUAL.txt --pdf-engine=xelatex -o example13.pdf
So, first step was to try this out on the exported posts:
pandoc md/*.md --pdf-engine=xelatex -o everypoliticianbot.pdf
[WARNING] Missing character: There is no ❤ (U+2764) in font [lmroman12-bold]:mapping=tex-text;!
[WARNING] Missing character: There is no บ (U+0E1A) in font [lmroman10-regular]:mapping=tex-text;!
[WARNING] Missing character: There is no า (U+0E32) in font [lmroman10-regular]:mapping=tex-text;!
[WARNING] Missing character: There is no ร (U+0E23) in font [lmroman10-regular]:mapping=tex-text;!
[WARNING] Missing character: There is no ั (U+0E31) in font [lmroman10-regular]:mapping=tex-text;!
[WARNING] Missing character: There is no ก (U+0E01) in font [lmroman10-regular]:mapping=tex-text;!
[WARNING] Missing character: There is no โ (U+0E42) in font [lmroman10-regular]:mapping=tex-text;!
[WARNING] Missing character: There is no อ (U+0E2D) in font [lmroman10-regular]:mapping=tex-text;!
[WARNING] Missing character: There is no บ (U+0E1A) in font [lmroman10-regular]:mapping=tex-text;!
[WARNING] Missing character: There is no า (U+0E32) in font [lmroman10-regular]:mapping=tex-text;!
[WARNING] Missing character: There is no ม (U+0E21) in font [lmroman10-regular]:mapping=tex-text;!
[WARNING] Missing character: There is no า (U+0E32) in font [lmroman10-regular]:mapping=tex-text;!
[WARNING] Missing character: There is no ش (U+0634) in font [lmroman10-regular]:mapping=tex-text;!
[WARNING] Missing character: There is no ُ (U+064F) in font [lmroman10-regular]:mapping=tex-text;!
[WARNING] Missing character: There is no ك (U+0643) in font [lmroman10-regular]:mapping=tex-text;!
[WARNING] Missing character: There is no ْ (U+0652) in font [lmroman10-regular]:mapping=tex-text;!
[WARNING] Missing character: There is no ر (U+0631) in font [lmroman10-regular]:mapping=tex-text;!
[WARNING] Missing character: There is no ا (U+0627) in font [lmroman10-regular]:mapping=tex-text;!
[WARNING] Missing character: There is no ً (U+064B) in font [lmroman10-regular]:mapping=tex-text;!
[WARNING] Missing character: There is no 謝 (U+8B1D) in font [lmroman10-regular]:mapping=tex-text;!
[WARNING] Missing character: There is no 謝 (U+8B1D) in font [lmroman10-regular]:mapping=tex-text;!
Uh-oh…
So it turns out that by default Latex isn’t very good at UTF8. This took a lot of head-scratching. I played around with various pandoc options until I came across a post about Easy LaTeX with Markdown and Pandoc. Here I found that you could use YAML front matter to add LaTeX options. I created ./md/00-index.md as the place to get the document set up correctly.
Given the international nature of EveryPolitician, I guess it was inevitable that the posts ended up containing some Arabic, Chinese and Thai characters.
I’ve wiped most of the frustration of figuring this out from my mind, but this StackExchange post was the one that got me over the line.
It seems like the combination of the fontspec and polyglossia packages are the best way to go about setting multiple character sets in a LaTex document.
---
header-includes:
  - \usepackage{fontspec}
  - \usepackage{polyglossia}
  - \setmainlanguage{english}
  - \setotherlanguage{thai}
  - \newfontfamily\thaifont{Sathu}
---
As well as defining the headers, I had to mark up the internationalisations in the markdown files themselves.
…
\begin{thai}(บารัก โอบามา)\end{thai}
…
Polyglossia doesn’t support Chinese, so I opted to just remove those characters as they weren’t critical to the post’s intent. I was also getting some errors with the Arabic characters too, but again it was easier to just delete them from the source.
pandoc md/*.md --pdf-engine=xelatex -o everypoliticianbot.pdf
[WARNING] Missing character: There is no ❤ (U+2764) in font [lmroman10-bold]:mapping=tex-text;!
[WARNING] Missing character: There is no ❤ (U+2764) in font [lmroman12-bold]:mapping=tex-text;!
I’m sure there’s a way to render U+2764, but it was easiest to just replace the character with the newunicodechar package.
  - \usepackage{newunicodechar}
  - \newunicodechar{❤}{\u{<3}}
At this point I was in a pretty good place. I had each file rendered in the correct order, and no more unicode problems.
However, the generated PDF’s links were embedded in the text – great for screen; not so great for reading on paper. Fortunately, pandoc has an option to extract links and render them as footnotes.
pandoc md/*.md --pdf-engine=xelatex \
  -V links-as-notes=true -o everypoliticianbot.pdf
Step 4 – Table of Contents and Title Page
The final step of generating the PDF – because I couldn’t help myself – was to add a table of contents and a title page.
Pandoc also has a --table-of-contents option, which works as expected.
I wanted a title page before the table of contents though, so I opted to use raw LaTeX in 00-index.md to set all this up.
---
header-includes:
- \usepackage[utf8]{inputenc}
- \usepackage{fontspec}
- \usepackage{polyglossia}
- \usepackage{newunicodechar}
- \setmainlanguage{english}
- \setotherlanguage{thai}
- \newfontfamily\thaifont{Sathu}
- \newunicodechar{❤}{\u{<3}}
---
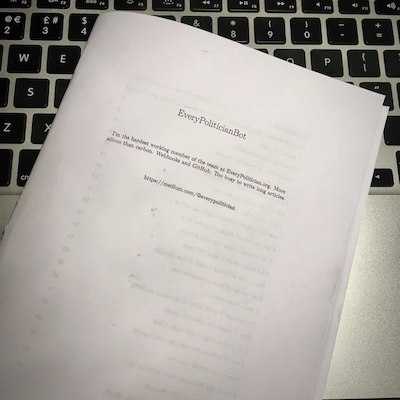
\title{EveryPoliticianBot}
\maketitle{}
\begin{center}
I’m the hardest working member of the team at EveryPolitician.org.
More silicon than carbon. Webhooks and GitHub.
Too busy to write long articles.
\newline
\newline
\newline
\newline
https://medium.com/@everypolitician
\end{center}
\newpage
\tableofcontents
\newpage
This LaTeX quick-start guide had enough information for me to figure out the main formatting commands I needed. I also peppered the source markdown files with a few page break commands to improve the final layout.
Step 5 – Printing
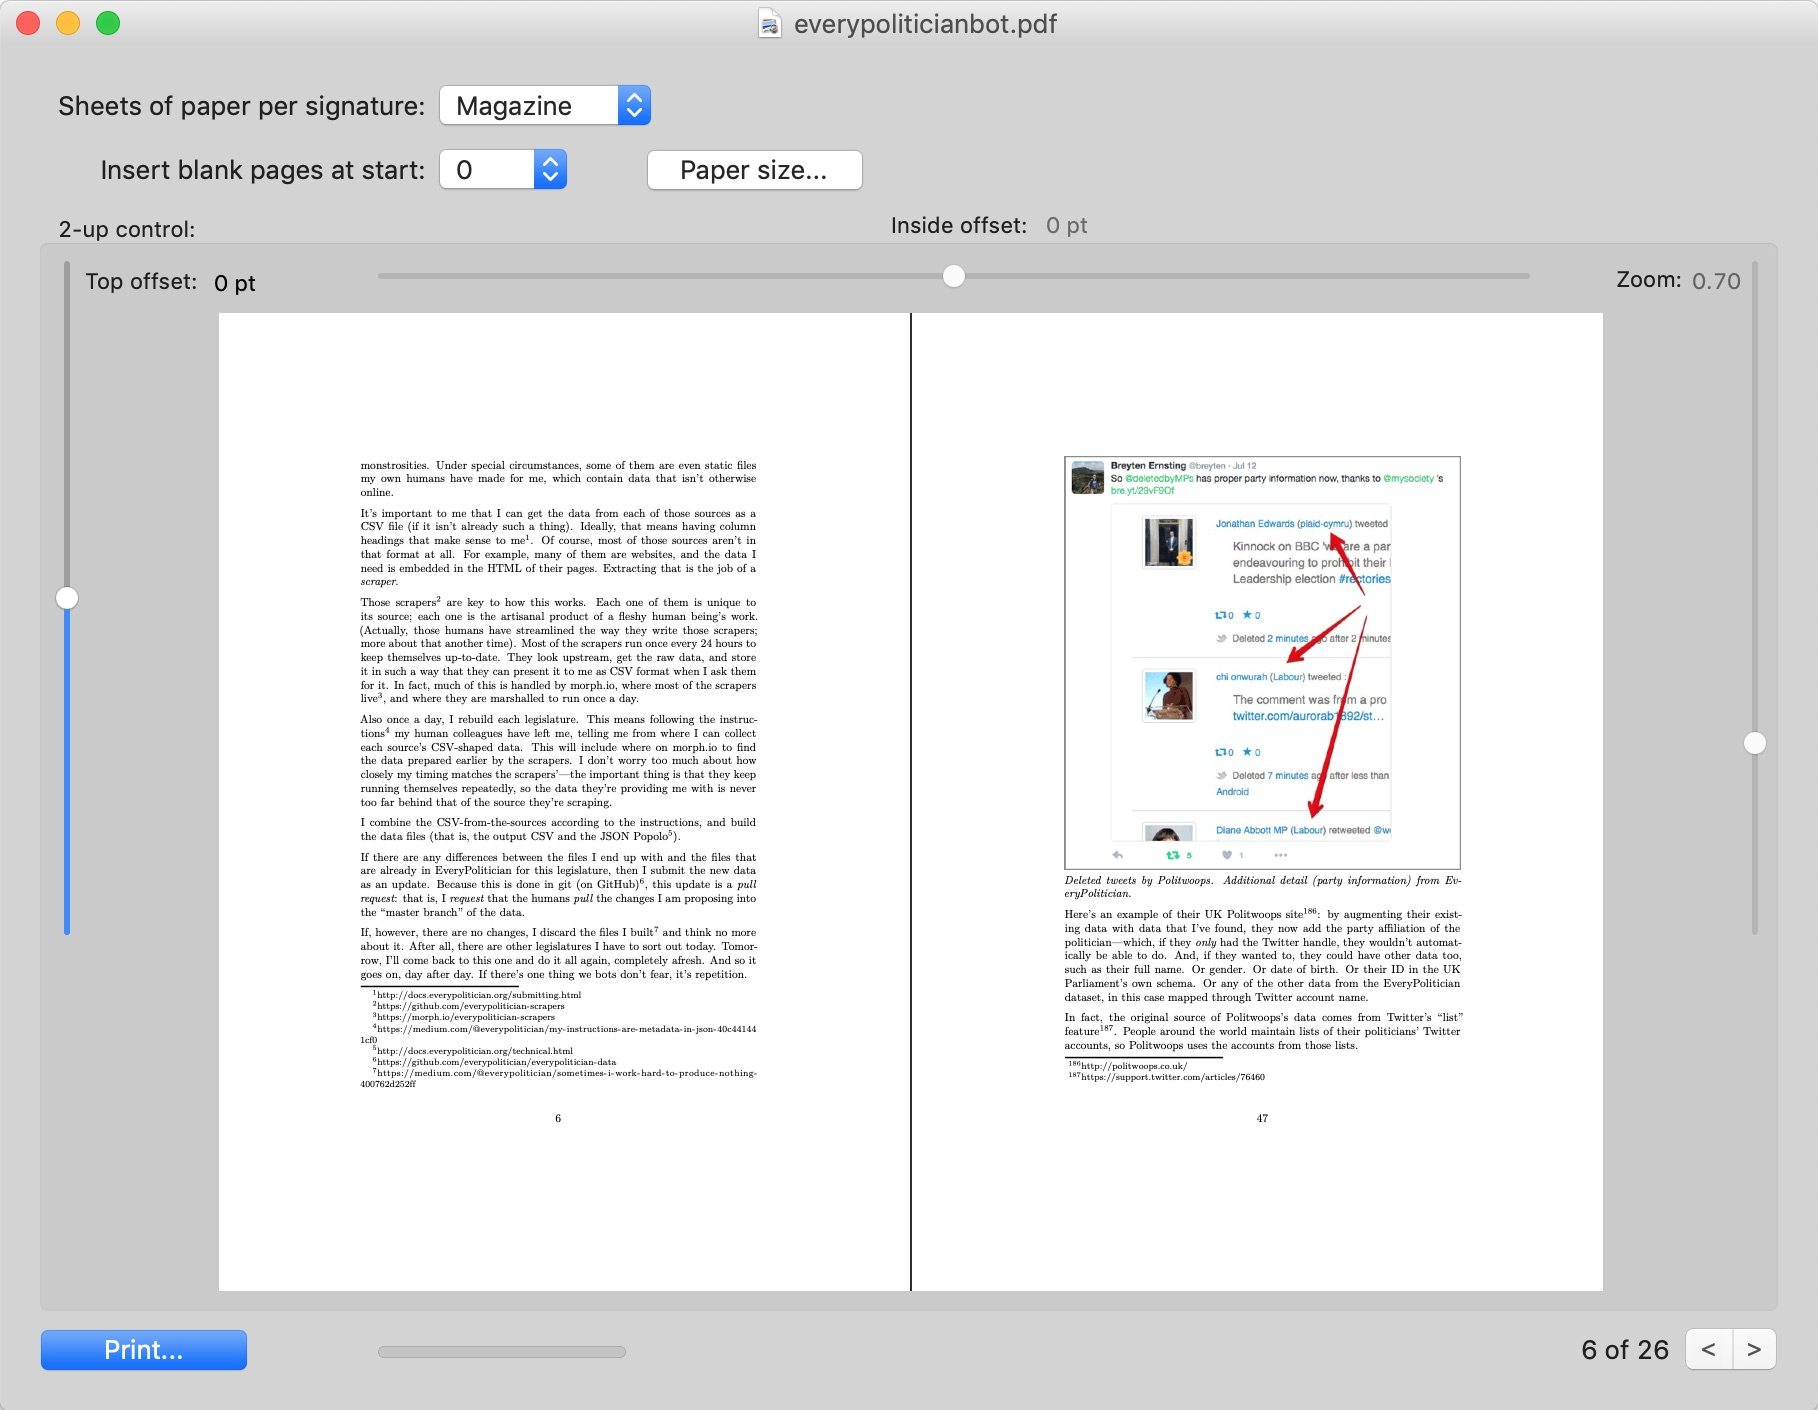
Pandoc produces an A4 PDF by default. I’ve never been a fan of A4; it’s a bit too big and unwieldy. I don’t have the facilities or time to bother printing leaves and binding them together properly, but thanks to Cheap Impostor I can at least create an A5 magazine layout, where I just punch a staple down the centre of the pamphlet.
And there we have it!
Massive credit goes to Dave Whiteland for the amazing character and writing of the posts, and Tony Bowden for the visionary project and architecture.